I’ll build a simple wire mesh trellis by securing a mesh panel to two sturdy stakes driven at least one foot into soil. I’ll extend the bottom edge one to two feet underground for grip, then attach the mesh with zip ties or brackets. For heavier crops like tomatoes or squash, I’d reinforce it with a wood frame using cedar boards and screws. Once installed and aligned with sunlight needs, I’ll train climbing plants upward as they grow—and there’s plenty more to explore about expanding designs and supporting heavier harvests.
Why Vertical Growing Saves Garden Space and Labor

How much could you grow if your garden reached skyward instead of spreading outward?
I’ve discovered that vertical growing transforms limited space into productive harvests. By installing a trellis, I’m directing climbing crops like cucumbers, pole beans, and tomatoes upward, maximizing yield per square foot without expanding my footprint. This approach means I’m joining gardeners who’ve reclaimed their ground area for other plantings.
The labor efficiency gains are significant. Raised beds paired with trellises reduce my bending and kneeling during pruning, training, and picking. My back benefits! Better air circulation around the vines means fewer diseases and faster drying after rain. I’m spending less time on maintenance and more time enjoying my garden.
Vertical growing isn’t just practical—it’s how thoughtful gardeners work smarter.
Ground-Based vs. Wall-Mounted Trellises: Choose Your Setup

Now that you’ve decided vertical growing works for your garden, you’ll need to pick the right trellis foundation.
I’ve found that ground-based trellises offer excellent portability. You’ll drive stakes at least a foot into soil, then attach remesh panels for sturdy plant support. This setup lets you move your trellis between beds seasonally.
Wall-mounted trellises excel at space efficiency. I mount them directly to existing walls using masonry anchors on concrete or brick surfaces. Adding hooks or T-posts creates distance between the trellis and wall, giving your plants room to weave through.
Consider your needs carefully. Need flexibility? Ground-based works well. Short on space? Wall-mounted saves precious garden real estate. You can even combine both approaches—using ground stakes with a wall-mounted frame creates a hybrid system offering stability and efficiency together.
Pick Your Plant First: Light Climbers vs. Heavy Crops

The plant you choose determines everything about your trellis design, so this decision matters more than you might think. Light climbers—like cucumbers, pole beans, snow peas, and snap peas—practically leap up trellises on their own, making them ideal for quick vertical growth and simple support structures. Heavier crops such as tomatoes, squash, melons, and sweet potatoes tell a different story. They’ll climb, but they need serious reinforcement. I’d recommend sturdy wood-frame trellises or remesh panels for these ambitious growers. Many gardeners add slings or hammocks beneath developing fruit to prevent vine breakage. Passion fruit fits the heavy category too—it’s vigorous but demands structural strength. Before you build, honestly assess what you’re growing. This upfront thinking saves you frustration and keeps your trellis support effective.
Compare Trellis Designs by Cost, Durability, and Build Time

Budget-Friendly Option: Remesh panels cost around $7 per sheet and create a quick, inexpensive setup under $20 with stakes and zip ties. They’re lighter and easier to cut, though they do rust over time.
Mid-Range Choice: Wood-frame trellises using cedar or redwood boards cost more but last longer. You’ll invest in materials and build time for a sturdier structure.
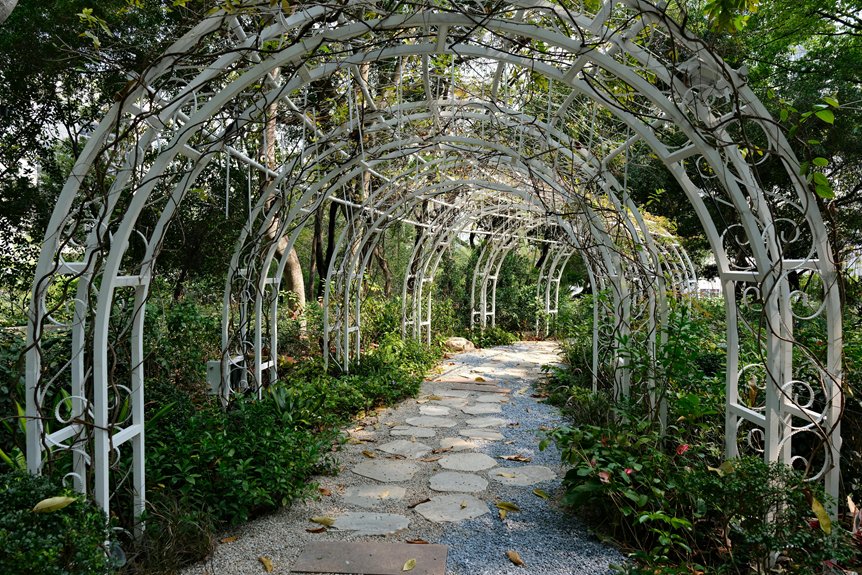
Premium Route: Cattle panels or pre-made arched designs offer maximum durability and visual impact, requiring more investment and installation effort.
Consider your commitment level and timeline before deciding. Your choice depends on how much you want to spend, how long you need the trellis to function, and how much time you can dedicate to construction.
Build the Simple Remesh Trellis

If you’re looking for a trellis that goes up fast and costs little, a remesh panel is your best bet. This option requires minimal cutting and fits most garden spaces perfectly.
Here’s what you’ll need:
| Material | Quantity | Purpose |
|---|---|---|
| Remesh panel | 1 | Support structure |
| Tall stakes | 2 | Ground anchors |
| Zip ties or wire | Several | Fasteners |
Drive your stakes at least one foot deep into the ground. Position your remesh panel so its edges align with both stakes for stability. Pull the fasteners tight and secure everything with zip ties or galvanized wire. Extend the bottom edge one to two feet below ground level for extra grip.
You’ll spend under $20 total, assuming you’ve got stakes on hand. It works well for raised beds and functions effectively as a garden trellis.
Build a Sturdy Wood-Frame Trellis

For a trellis that will last, build a wood-frame structure around your remesh panel. Use redwood or cedar 2x2s, cutting four 8-foot lengths for your frame perimeter. Connect the corners with decking screws or L-brackets after predrilling to prevent splitting. Add a crosspiece for extra stability.
Next, position your remesh panel on the wood frame, making sure it’s square. Secure it with short wide-head cabinet screws every foot around the perimeter.
Before attaching everything, drive two tall stakes at least one foot into the ground, spacing them evenly and keeping them straight. Finally, secure your wood frame to these stakes using hose clamps at the corners, tightening them firmly with a screwdriver. Your trellis is ready to support your climbing plants.
Install and Secure Your Trellis in the Ground

Your sturdy wood-frame trellis is built and ready—now it’s time to install it where your climbing vines will grow. Start by driving stakes about one foot into the ground, ensuring they’re straight and aligned with your remesh edges. Next, position your trellis in front of these stakes, letting the wood legs extend a couple inches into the soil.
Now secure everything tightly. Attach the remesh to the stakes using zip ties or galvanized wire, pulling each one snug to prevent any movement. For additional stability, apply gentle lateral pressure to test your work. Finally, check that there’s adequate space between your trellis and any nearby walls or ground—you’ll need room for plants to weave through and develop naturally.
Train Plants Up: Guiding Growth and Adjusting Support

Now that your trellis is anchored firmly in place, how do you coax those tender vines upward? I guide my plants strategically by following these proven methods:
- Position remesh panels so branches naturally follow the grid pattern, creating an organized framework for vertical growth.
- Secure edges with zip ties or galvanized wire, establishing a uniform surface that supports your climbing plants.
- Rotate attachment points as vines develop, directing new growth along the structure to prevent tangling and maintain even canopy coverage.
- Install slings or hammocks for heavier crops, protecting fruit-laden stems from breakage as plants climb.
I check my trellis regularly, adjusting supports as needed. This hands-on approach prevents damage while encouraging vigorous growth toward the sky!
Expand With Double Panels and Design Variations

Expand With Double Panels and Design Variations
Why settle for a single panel when you can double your growing space? Expanding your trellis design with double panels creates multiple functional options for your garden.
Side-by-Side Expansion
Mount two remesh panels on a larger wood-frame trellis using four 8-foot 2x2s. Add a middle horizontal support piece for alignment and stability. This creates a broader privacy wall supporting different climbing crops at varying heights.
Stacked Configuration
Stack panels vertically for a taller, two-tiered trellis. This expansion maximizes your growing area in smaller spaces.
Reinforcement Tips
Reinforce the center seam with a crosspiece and additional screws along the outer perimeter. This prevents flexing and maintains square alignment. For arched designs, secure each panel to its own fiberglass stakes, connecting them at the top with a bridging piece to form a continuous arch.