I’ve mastered container gardening through five essential steps. First, choose a drainage-equipped pot—at least 14 inches for tomatoes. Fill it with fresh potting mix, not dense garden soil. Next, arrange plants using the Thriller-Filler-Spiller layout: tall anchor plant centered, medium fillers surrounding it, and cascading spillers over edges. Backfill gently, apply slow-release fertilizer, then water deeply until drainage flows. Finally, check soil moisture daily by inserting your finger one inch deep, watering early morning during hot spells. These fundamentals create successful containers, with many more advanced techniques available to explore.
Choose a Container With Drainage: Size Matters for Your Crop

Why does drainage matter so much when you’re planting in containers? Without proper drainage holes, water pools around your roots, suffocating them and inviting disease. Drainage holes are non-negotiable for plant health.
Container size directly impacts your success. I use at least a 14-inch-diameter container for large crops like tomatoes, ensuring adequate capacity for root systems. Bigger containers offer additional benefits: they retain moisture longer and give roots more room to develop.
Here’s what I do: I choose containers with drainage holes first, then match the size to my plant. For vegetables and herbs, I provide individual containers to prevent overcrowding. If I’m stuck with a container lacking drainage, I add a generous pebble layer at the bottom to improve water flow.
Fill With Fresh Potting Mix, Not Garden Soil

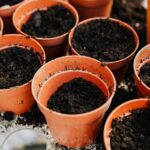
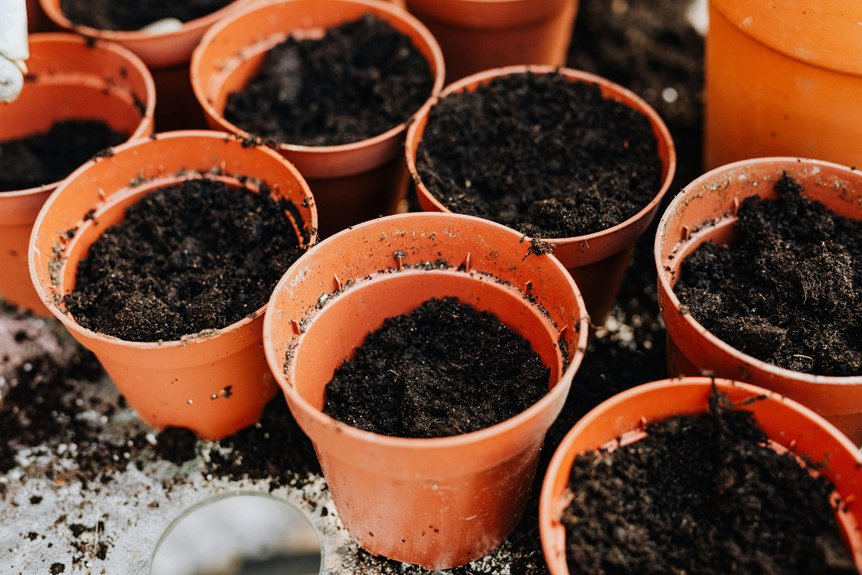
What’s the difference between potting mix and the soil you’ve got in your garden beds? Garden soil’s too dense for containers—it compacts easily and blocks drainage, suffocating your plants’ roots. I use fresh potting mix or planting mix instead because it’s specially formulated to stay light and airy.
Here’s my process: I fill the container one-third full with fresh mix before planting. Then I moisten the soil thoroughly to maintain proper moisture without waterlogging. This preparation sets the foundation for success.
Never reuse old outdoor planter soil for new planting. Instead, recycle it as compost in your garden beds. For larger containers, I add a planter insert to reduce soil usage and weight while maintaining proper drainage throughout the season.
Position Plants for Growth: Thriller, Filler, Spiller Layout

How you arrange your plants matters just as much as which ones you choose. The Thriller-Filler-Spiller layout provides a proven strategy for container gardening.
Place your tall Thriller in the center to anchor the design. Surround it with medium-height Fillers that create layered coverage and hide container edges. Then add Spillers cascading over sides for dynamic movement. This growth layout works because all three types share similar sunlight consistency and watering needs, simplifying maintenance.
Before positioning anything, ensure your potting mix fills the container adequately around drainage holes for proper drainage management.
Key benefits:
- Creates visual balance and professional appearance
- Hides the container’s structure seamlessly
- Maximizes the impact of each plant’s natural growth pattern
Backfill, Firm Soil, and Apply Fertilizer

Fill and Settle
Backfill around your plants with additional potting mix, working carefully to avoid air pockets. Gently firm the soil to establish proper root contact without compacting it too much. This balance matters—you’re creating stability, not crushing delicate roots.
Hydrate and Fertilize
Ensure your soil moisture is even throughout by watering thoroughly after backfilling. This helps settle the roots naturally.
At planting time, apply a slow-release fertilizer like Osmocote® directly into the mix. It will supply steady nutrients over weeks, reducing maintenance in your container gardens.
Leave Space
Remember to leave about one inch from the container’s rim. This space is necessary for proper drainage holes function and future watering without spillover.
Water Thoroughly, Then Check Soil Daily All Season

Because container plants rely entirely on you for water, they’ll need consistent moisture throughout the growing season. I water deeply until water exits the drainage holes, ensuring the entire root zone gets moistened. Then I check soil moisture daily by inserting my finger about one inch deep to decide if watering’s needed.
Container plants depend entirely on you for water, requiring consistent moisture and deep watering until drainage holes run clear.
What works best:
- Water early in the day to support plant hydration and allow leaves to dry, reducing disease risk
- Increase watering frequency during hot weather since containers may need daily irrigation
- Use a moisture meter as a beginner-friendly tool to gauge when soil’s dry enough to water
Container watering requires attention and consistency to keep your plants healthy all season long.