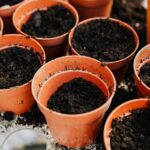
Your planter box bottom needs drainage holes (1/4 to 1/2 inch, spaced 4–6 inches apart) to prevent root rot. Layer it with gravel or perlite, then add breathable landscape fabric to contain soil while water escapes. Choose cedar or pressure-treated lumber for your frame, and decide between a removable bottom for flexibility or fixed bottom for stability. Proper layering ensures excess water moves toward those drainage holes while keeping roots aerated and healthy.
Why Planter Box Bottoms Matter for Drainage and Soil Retention

Have you ever wondered why your planter box bottom is just as important as the sides and frame? It’s because your bottom design directly impacts two critical functions: drainage and soil retention.
Without a proper bottom, water pools around your plants’ roots, causing rot and disease. A well-designed bottom lets excess water escape while keeping your soil contained. This balance isn’t easy to achieve, but it matters for plant health.
Your bottom design choices affect how water moves through your planter. Some gardeners prefer slatted bottoms for maximum drainage, while others use solid bottoms with drainage holes. The right choice depends on your climate and plant needs.
Think of your bottom as the foundation supporting everything above it. Getting this right means your plants perform well.
Choose Planter Box Bottom Materials and Frame

Now that you understand why drainage and soil retention matter, you’ll want to focus on what materials and frame design actually work best for your planter box bottom. I’ll walk you through selecting durable materials that won’t rot or collapse under weight, plus frame designs that give you easy access when you need to adjust soil depth or clean things out. These choices directly affect how long your planter lasts and how much maintenance you’ll realistically handle.
Material Selection And Durability
What’s the best foundation for a planter box that will last through seasons of watering, weeding, and weather? Choosing the right materials directly affects planter bottom durability and your garden setup.
Cedar, redwood, and pressure-treated lumber are solid choices for frames because they resist rot naturally. For weather-resistant construction, I pair these woods with slats or boards on the bottom—they prevent soil leakage while staying accessible for cleaning.
I recommend finishing everything with exterior paint or spar varnish. This protective coating keeps moisture from breaking down your wood. Pocket-hole joinery hides fasteners while maintaining strength. Using quality materials upfront means you’re building something that will serve your garden reliably for years, not seasons.
Structural Support And Accessibility
How you design your planter box bottom determines whether you’re building something that stays put or something you can adjust and maintain. Using cleats or removable boards for your bottom design provides flexibility without sacrificing structural support. These configurations let you access your soil quickly for cleaning and adjustments while keeping your planter stable during movement.
Full-width bottoms work best if your planter stays permanently installed. Removable options serve you better if you’ll move your planter around. Mid-height boards let you adjust soil depth to match what your plants need. Consider weight carefully—lighter removable bottoms make your planter more mobile when filled. The accessibility you gain from this approach means you’ll maintain your planter easily over time.
Build Your Bottom Support: Cleats, Rails, and Board Methods

The foundation of your planter box—where boards meet the frame—determines everything from drainage to how easily you’ll maintain it. I recommend installing two horizontal cleats: one at the bottom and another halfway up the box. This setup lets you position boards at different heights, giving you flexibility to adjust soil depth as needed.
Here’s what makes this system work: the bottom cleats hold your boards with a small 1/4-inch gap underneath. This gap improves airflow and water movement through the drainage zone. The middle cleat supports boards without fasteners, so you’ll remove them easily when cleaning.
You’re creating an accessible interior that adapts to your needs. If you ever relocate your planter, these cleats allow quick disassembly, keeping transport manageable and straightforward.
Select Breathable Barriers vs. Moisture Blocks

Now that you’ve got your cleats and boards in place, you’ll want to decide what goes on that bottom surface—and this choice matters.
I’d recommend choosing a breathable barrier like weed barrier cloth or landscape fabric. These materials hold dirt in place while letting water drain through, giving you solid moisture control without trapping moisture underneath. They’ll suppress weeds effectively for years.
You might consider cardboard or carpenter paper as budget-friendly options, but know they’ll decompose within 4–6 months, eventually affecting your moisture control. Avoid plastic sheets or bottles entirely—they contaminate soil and block drainage over time.
Skip the thick drainage layer unless your soil truly needs it. A thin gravel layer works if needed, but your breathable barrier does the real work here.
Layer Your Bottom for Drainage and Stability

Once you’ve chosen your breathable barrier, you’ll want to build a layered foundation that keeps water moving freely while holding everything in place. I start with small rocks or gravel as my drainage layer, which creates pathways for water to escape. Next, I add my barrier fabric, securing it so soil won’t wash through. Then comes my soil mix on top.
Here’s what works best:
| Layer | Material | Purpose |
|---|---|---|
| Bottom | Small rocks/gravel | Creates water channels |
| Middle | Breathable fabric | Blocks soil migration |
| Top | Quality soil mix | Holds plants and nutrients |
| Slope | Angled foundation | Directs water toward holes |
| Support | Secured edges | Prevents layer shifting |
The internal slope you create ensures excess water naturally gravitates toward drainage holes, preventing waterlogging.
Create Proper Drainage: Holes and Perforations

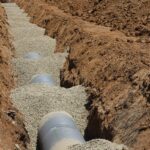
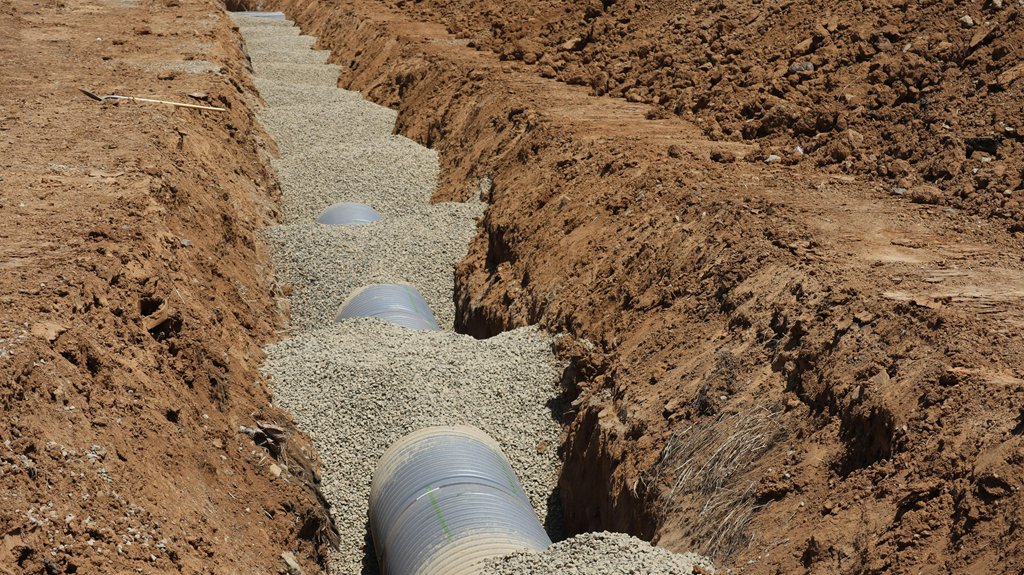
You’ll need to drill drainage holes in your planter box bottom to prevent roots from sitting in standing water, which causes rot and disease. Space holes about 4-6 inches apart across the entire bottom surface, making them roughly ¼ to ½ inch in diameter—large enough for water to flow freely but small enough that soil won’t fall through. Once you’ve created these perforations, install a drainage layer of gravel, perlite, or a landscape fabric barrier above the holes. This keeps soil from washing away while still letting excess moisture escape quickly.
Preventing Waterlogged Root Systems
What’s the single most common reason planter plants fail? Waterlogged roots. I’ve seen it happen countless times, and it’s entirely preventable when you understand your planter’s bottom requirements.
Here’s what I do to keep roots healthy:
- Install drainage holes in the bottom—at least one hole per 12 inches of planter width
- Add a drainage layer of gravel or broken pot shards to separate soil from the base
- Avoid solid bottom barriers that trap water; use permeable materials instead
- Incorporate perlite or vermiculite into your potting mix for improved porosity
I also create a slight internal slope so excess water naturally moves toward drainage holes rather than pooling. This simple approach ensures your drainage system actually works. When you prevent waterlogging, your roots get the oxygen they need to develop properly.
Sizing and Positioning Holes
Where exactly should drainage holes go, and how big do they really need to be? Positioning matters as much as size itself. You’ll want drainage holes distributed across the planter’s bottom—not just one corner—to maintain even water flow throughout your soil. Holes roughly ¼ to ½ inch in diameter, spaced about 6 inches apart, work well.
Align holes with your planter’s lowest points so water exits efficiently without pooling. Add a permeable fabric or screen layer above the holes to prevent soil from clogging your drainage system. After filling your planter, check that nothing blocks these openings. This simple step keeps your drainage performing reliably all season long and protects your plants’ root health.
Drainage Layer Installation Methods
Once your drainage holes are cut and cleared, water management inside the planter becomes critical. You’re creating a foundation that keeps roots healthy by preventing waterlogging and promoting soil aeration.
Here’s how to build your drainage layer:
- Add small rocks or gravel as your base material—about 1-2 inches deep—to promote rapid water flow
- Mix perlite or vermiculite into your potting soil to increase air pockets around roots
- Create a slight interior slope directing water naturally toward drainage holes
- Place fabric barriers above the drainage layer to maintain filtration while preserving drainage effectiveness
This layered approach ensures excess water moves efficiently toward your drainage holes instead of pooling around roots. You’re building a system that supports plant health.
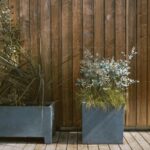
Build a Removable or Fixed Bottom: Choosing Your Setup

Your planter box’s bottom setup fundamentally shapes how you’ll maintain it, move it, and use it for years to come. You’ve got two solid options: removable or fixed bottoms, each serving different needs.
A removable bottom using cleats lets your boards sit without fasteners, making cleaning effortless. You can adjust soil depth seasonally and empty the box when needed. This setup keeps your overall weight manageable, perfect if you’re relocating planters.
A fixed bottom offers superior stability and durability. It provides excellent soil containment while supporting heavy soil loads. Consider a continuous bottom or layered support system that balances drainage needs with structural strength.
Choose removable if you value flexibility and accessibility. Select fixed if permanence and wind resistance matter most. Your location and lifestyle determine which approach works best for your gardening setup.
Inspect and Maintain Your Planter Bottom Seasonally

As seasons shift and weather patterns change, your planter’s bottom becomes vulnerable to drainage issues, material breakdown, and structural settling. Regular maintenance keeps your plants healthy and productive.
Check your planter’s bottom seasonally using this approach:
- Clear drainage holes of soil and debris blockages that restrict water flow
- Inspect barrier materials like weed fabric or gravel for damage or displacement
- Monitor settling of lightweight fillers and replenish soil depth as needed
- Assess moisture levels after heavy rain or heat waves, adjusting drainage layers accordingly
Before reusing planters, clean and sanitize the interior thoroughly. If weathering has compromised your exterior finish, reseal or repaint to maintain moisture protection. These maintenance habits keep your planter bottom functional and durable year after year.